Focus blur is a technique in computer graphics to create the bokeh affect that occurs in photography when real lenses with (inevitably) non-zero sized apertures are used. The lens must be focused at a specific distance and any objects either in-front or behind that focus distance will be progressively blurred. The kind of bokeh that occurs depends upon the many tradeoffs that went into the design of the lens.
Focus blur as implemented in ray-tracers trades off performance for a smoother, less noisy result. The reason for this is that multiple rays are needed for each pixel to simulate the light captured by a non-zero sized (not pinhole) aperture. Usually the area of the aperture is stochastically (randomly) sampled and the more samples made the closer to a perfect capture you get. The results are then averaged. Hence the more samples the smoother the result. The effect of this is that out of focus areas get progressively more grainy the more out of focus they are.
In high performance rastering renderers, such as those in modern computer games, focus blur is a post-processing effect. After an image frame has been rendered the blur effect is applied to it. This requires a depth map to be captured as part of the rendering. The depth map is an image where each pixel contains the distance from the camera to the surface that provides the colour for that pixel. A depth map is quite cheap to produce as part of the modern rendering pipelines. The blur produced by this approach is very smooth.
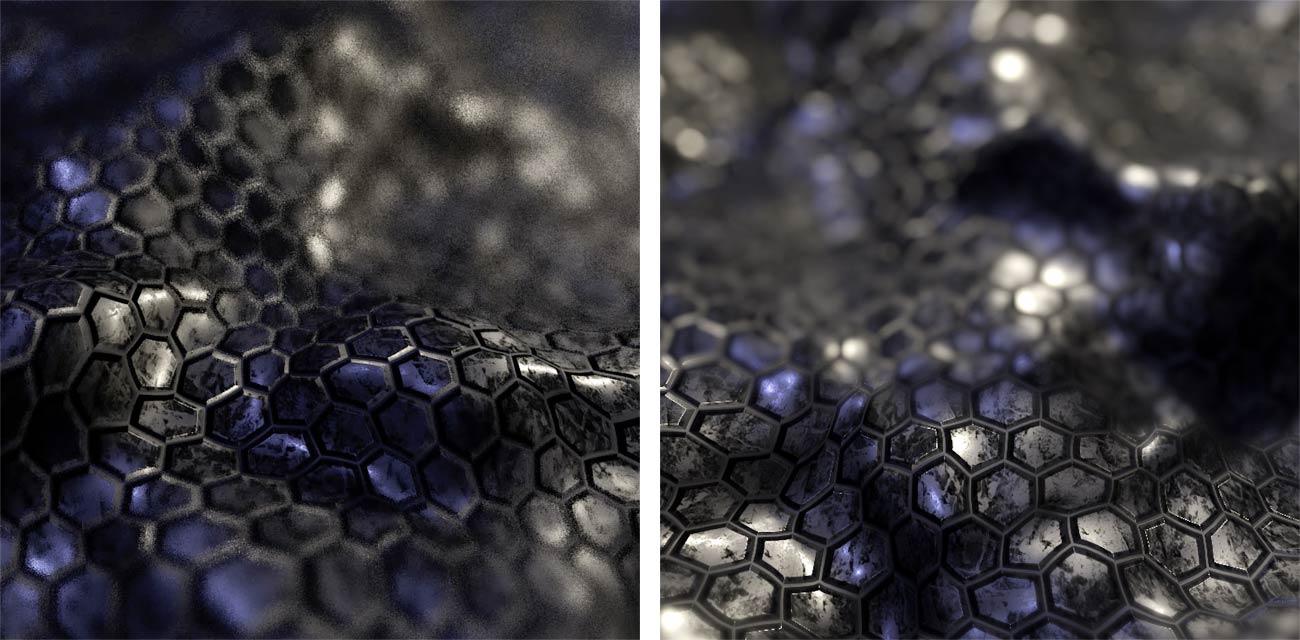 Figure1 : ray-tracing focus blur (left) compared to post-processing focus blur (right)
I personally like the aesthetic of ray-traced focus blur much more. It has a more “analog” film grain like feel. When I moved to do more work with Unity I was dissapointed by the shiny smooth synthetic blur produced by it’s post-processing pipeline. That was the motivation for this project.
Unfortunately ray-tracing and raster pipelines are very different approaches to creating computer graphics. I couldn’t find any existing solutions or attempts at creating focus blur like a ray-tracer does. After a bit of head scratching this is the approach I came up with.
To get the performance needed we must use a compute shader. The compute shader runs in the GPU and has direct access to the image frame. The approach I developed still runs as a post-processing effect using the same image and depth map as the regular unity post-processing effect. It runs as two stages with an intermediate buffer connecting the stages.
The first stage calculates the “circle of confusion” for each pixel. The circle of confusion is a the radius of blur that the surface behind each pixel on the image will experience. The circle of confusion depends upon a number of factors including the focus distance, the aperture size and the lenses focal length (wide-angle to telephoto.)
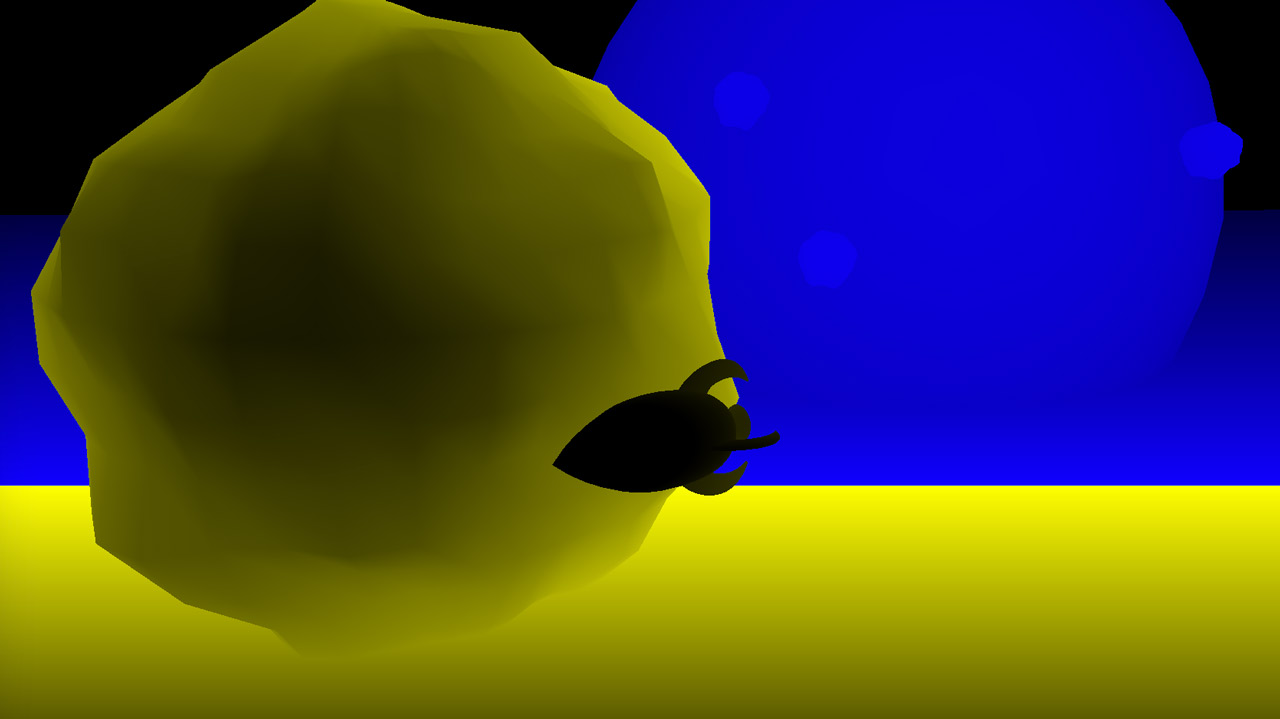 Figure2 : Circle of Confusion map with yellow in front of focus and blue behind
The second stage takes the circle of confusion map along with the image. Each pixel is calculated in isolation and to all intents and purposes in parallel to maximum ability of the GPU. For each pixel we iterate number of times choosing a random offset from the target pixel. Two possibilities exist for valid interactions of the epixels. Firstly, if the circle of confusion of this pixel overlaps with the target pixel then this offset pixel will have some effect on the target pixel as long as it is in front. Secondly, if the circle of confusion of the target pixel overlaps with offset pixel then it will also be accumulated regardless of it being in front or behind. All light from relevant target pixels are weighted according to the kernel function and accumulated. The kernel function is used to weight the light received from a pixel according to it’s position in the circle of confusion. In an ideal bokeh all light within the circle of confusion is valued equally. Smooth bokeh occurs when the kernel has a gaussian falloff from the center. “Bad bokeh” occurs when light towards the edge of the circle of confusion has higher weighting. See Ken Rockwell for more information.
I have put the code for this compute shader up on GitLab along with the sample scene used in the youtube video.
Reference for shader parameters
- Focus Distance - distance to the point of focus
- Aperture - ratio of aperture (known as f-stop or f-number). The smaller the value is, the shallower the depth of field is.
- Focal Length - the distance between the lens and the film. The larger the value is, the shallower the depth of field is
- Kernel Shape - [Smooth, Circle, Outline] Smooth uses a gaussian blur. Circle simulates a traditional circular camera aperture. Outline creates a more sharp bokeh characteristic of mirror or overcorrected lenses.
- Blur Radius - how large the maximum blur can be
- Blur Radius Multipler - scales the actual blur to use more of the blur dynamic range set by blur radius
- Sample Set Size - the number of random points to sample from. Large numbers will cause totally random looking noise, smaller values will start to look more like a pattern. This parameter doesn’t effect performance
- Sample Count - the number of random samples tested for each pixel
- Max Sample Count - many samples fall out of the range of the circle of confusion, once max sample count samples have fallen inside, and are used to effect the result, no more will be used. Keeping this value small keeps performance up.
- Temporal Noise - When true the noise is varied on each frame, this looks more realistic and smoother but can cause a big increase in size and/or reduced quality of rendered video.