Background
There is something immensely satisfying about having something to hold which has been hand crafted. Working with code most of the time it’s rare to get an outcome that is tactile.
This project recreates a Hive-like user interface experience with a few readily available components. These components connect easily to a micro-controller such as the Particle Photon.
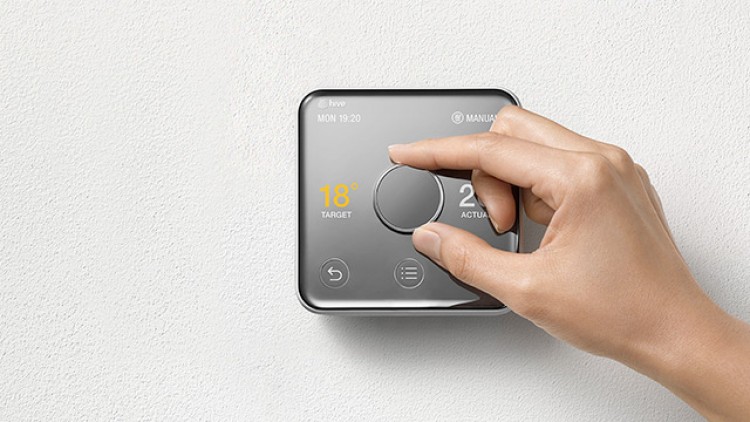 Figure2: Hive smart thermostat
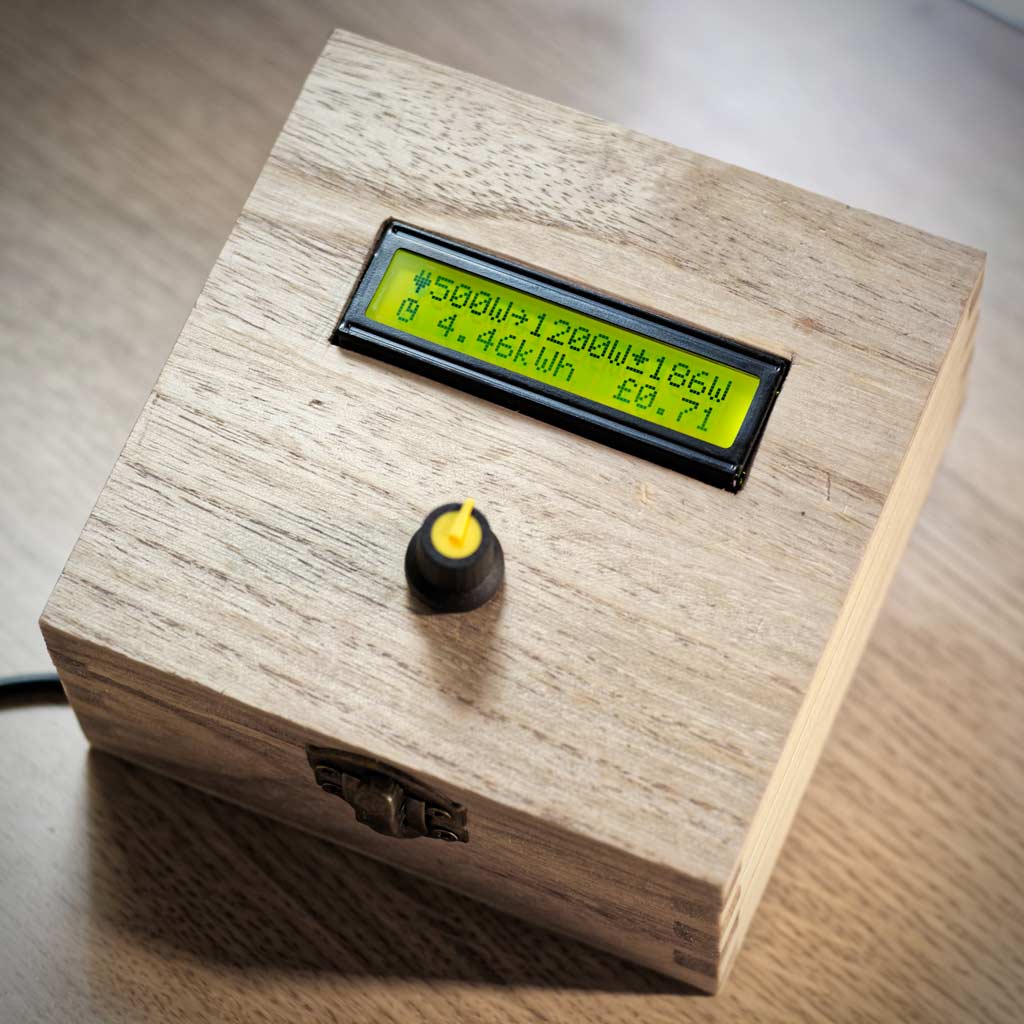 Figure1: Dashboard
Construction Guide
Parts List
- Photon Particle
- 500mA micro-USB power supply
- Breadboard
- 1602A LCD Display with I2C interface
- rotary encoder module
- knob for rotary encoder
- 2x 0.1uF capacitor
- Male-female patch cable (at least 9 way)
- several breadboard male-male patch cables
- enclosure of your choice
Tools Needed
- sharp stanley knife to cut out hole in enclosure
- drill with 8mm drill bit
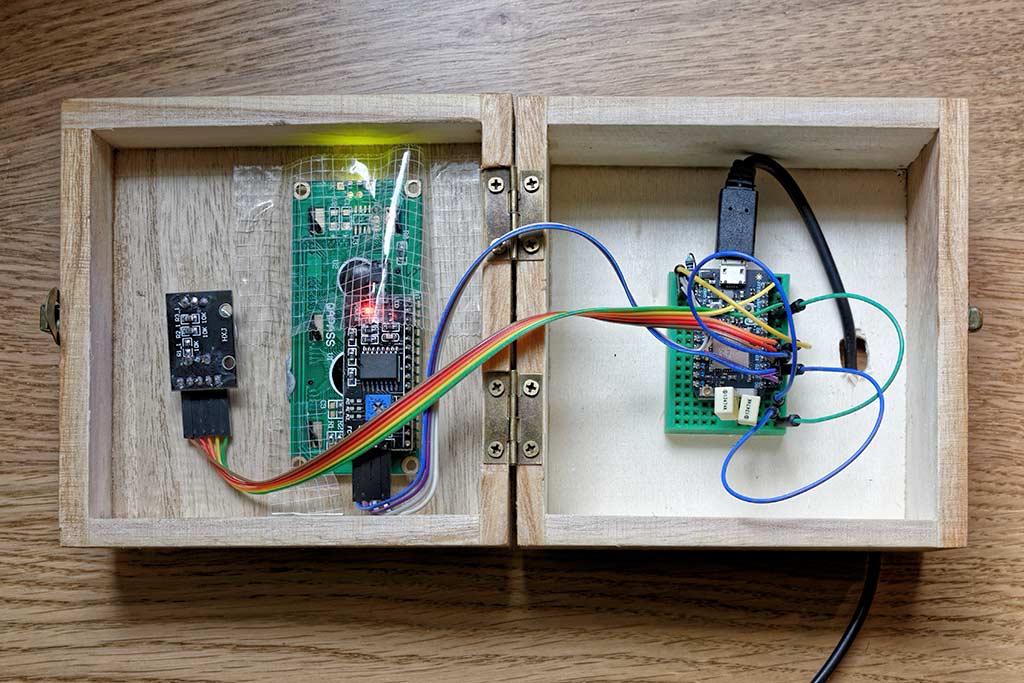 Figure3: Dashboard Internals
Follow these construction steps: 1. Place Particle Photon onto breadboard. Attach micro-USB power and configure it ready for use according to instructions. 2. Cut holes in enclosure and mount display and rotary encoder module. 3. Connect power and I2C on LCD display to VIN, GND and D0, D1 on Photon. 4. Connect rotary encoder to D2, D3, D4 on Photon. 5. Connect de-bounce capacitors between D2 and GND, D3 and GND.
Software
The software side of this project is a bit open-ended. Currently I use it for just two functions. Firstly, to report live electricity data from my Current Cost Electricity Monitor. Secondly it acts as an error display for my Polestar home hub. When an error occurs it displays it until dismissed whilst blinking the LED backlight.
The basic operation is to poll a webhook on Polestar that serves data in JSON format. This is then rendered onto the LCD.
I’ve put a snapshot of my Photon app up on GitHub.